Easy Pav Bhaji Recipe (Mumbai Street Style): The Ultimate Comfort Food Guide
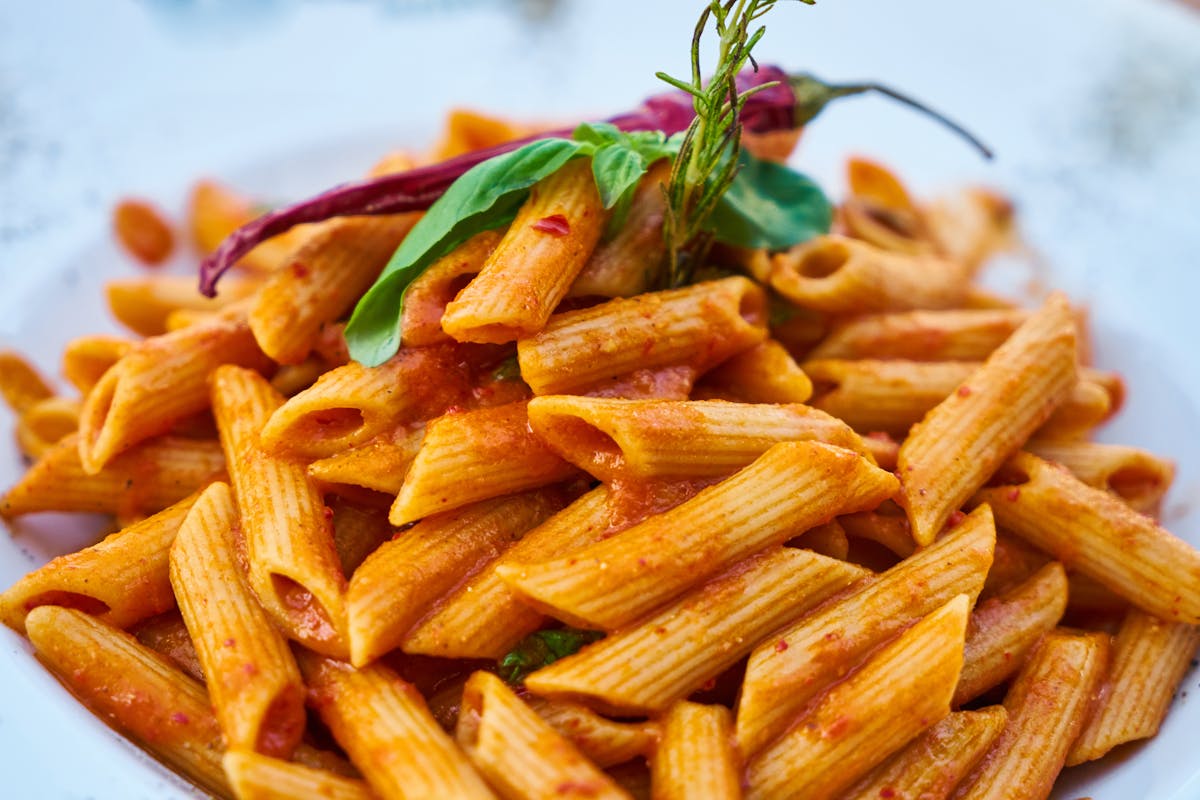
An authentic plate of Mumbai-style Pav Bhaji, rich in spices and butter, ready to be devoured.
KEYWORD FOCUS: This comprehensive guide on the Easy Pav Bhaji Recipe covers history, the perfect bhaji spice blend, step-by-step cooking, and pro tips for that authentic Mumbai street taste.
Table of Contents
- 📖 What is Pav Bhaji?
- 🥕 Essential Ingredients & The Perfect Spice Mix
- 👨🍳 Step-by-Step Easy Pav Bhaji Recipe
- 💡 7 Pro Tips for Authentic Mumbai Street Style
- 📊 Nutritional Information & Health Benefits
- ⚖️ Homemade vs. Street Vendor: A Detailed Comparison
- 🌏 Global Variations & Fusion Ideas
- ❓ Frequently Asked Questions
What is Pav Bhaji? A Journey Through Mumbai's Culinary History
If you have ever craved a dish that perfectly balances spicy, tangy, and buttery flavors, you must master this easy Pav Bhaji recipe. Originating in the bustling textile mills of Mumbai in the 1850s, Pav Bhaji was the ultimate fast food for overworked laborers. They needed a quick, nutritious, and filling meal during short breaks. Inventors of this Mumbai street food mashed up mixed vegetables into a thick, spicy curry (bhaji) and served it with soft bread rolls (pav).
Today, this Indian street food recipe has transcended its humble origins to become a global phenomenon. From the lanes of Chowpatty to high-end restaurants in New York and London, Pav Bhaji is loved for its customizable heat level and irresistible taste. While the ingredient list might look long, it is actually a very forgiving one-pot vegetable mash. You can use almost any vegetable hiding in your fridge.
According to food historians, the amalgamation of spices like Pav Bhaji Masala was specifically designed to mask the blandness of bulk-cooked vegetables while giving the workers a burst of energy. The dish packs roughly 400-500 calories per serving, making it a substantial meal. Learning how to make vegetarian Indian recipes like this one connects you directly with a rich cultural legacy.
“Pav Bhaji is not just a dish; it's an emotion that binds the streets of Mumbai. The secret lies not in the vegetables, but in the generous dollop of butter and the patience of the mash.” — Mumbai Street Food Vendors’ Association
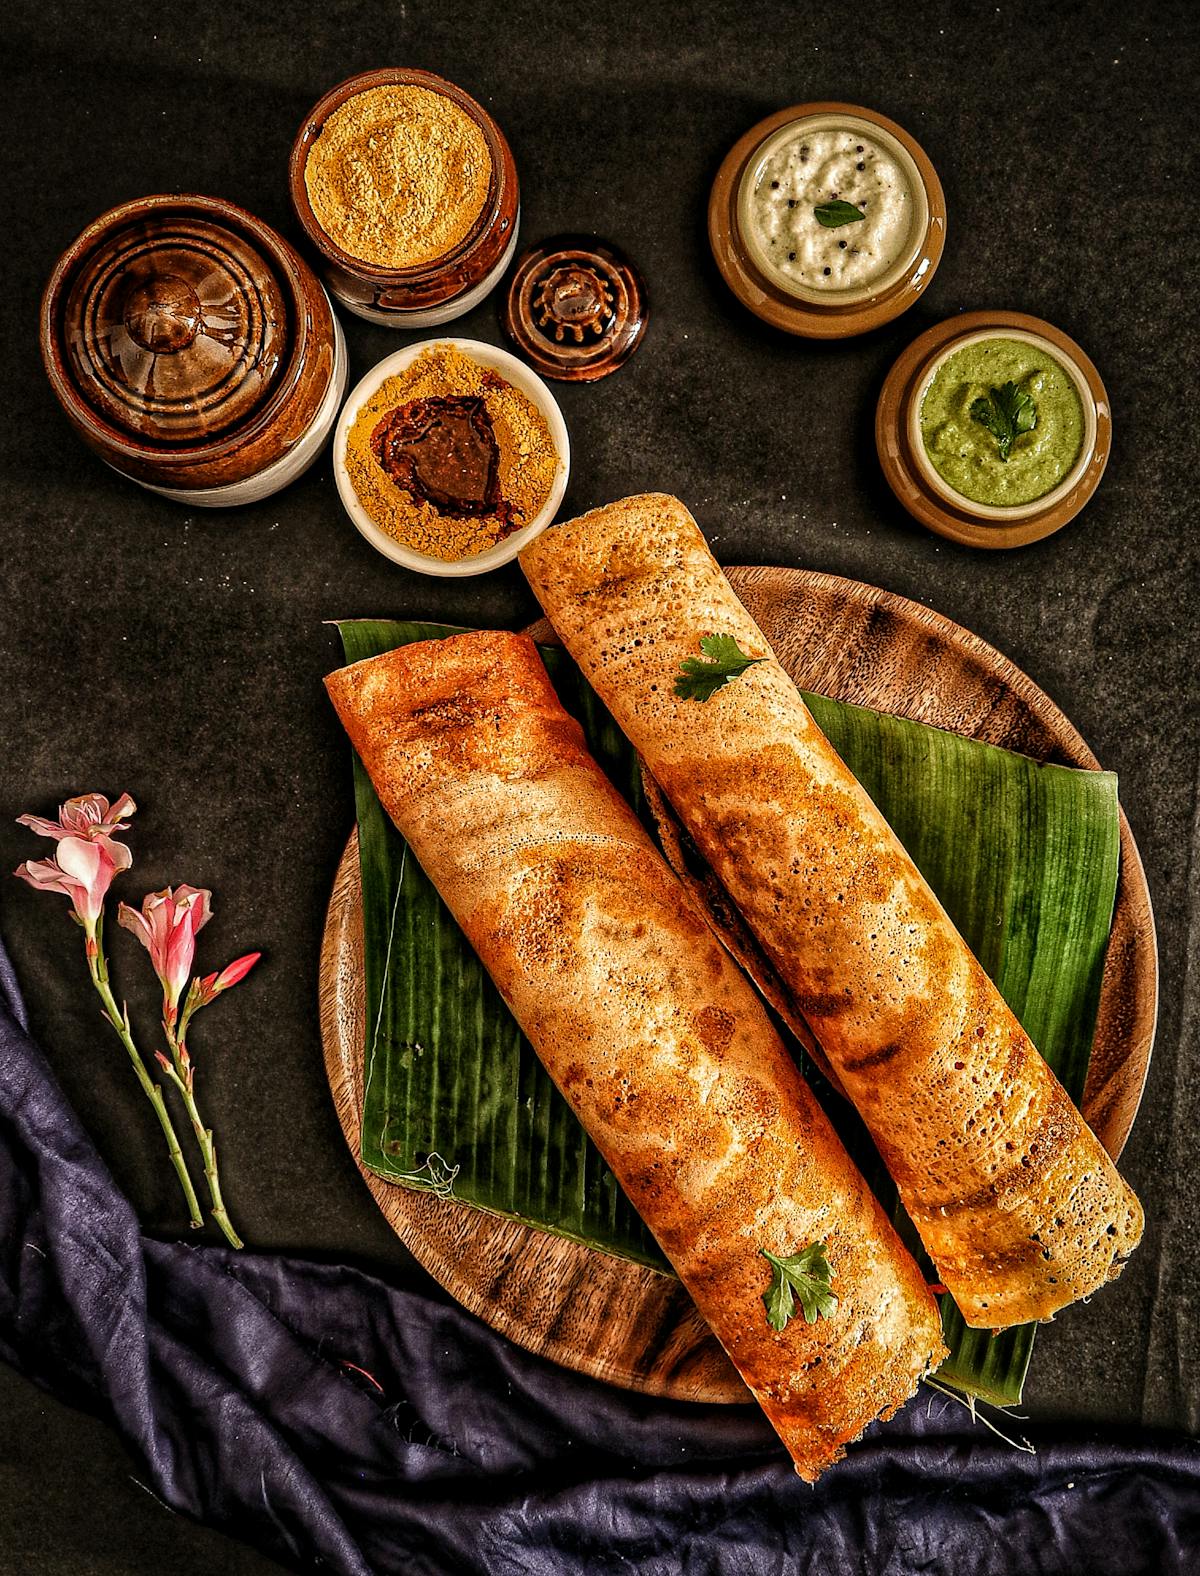
Fresh, high-moisture vegetables are the backbone of a creamy, delicious bhaji.
Essential Ingredients for the Best Easy Pav Bhaji Recipe
To achieve that authentic restaurant-style Pav Bhaji, you don’t need exotic ingredients, just the right proportions. The magic lies in the "Khada Masala" and the special Pav Bhaji spice blend. Below, we break down exactly what you need for this easy vegetarian dinner idea.
For the Bhaji (Vegetable Mash)
- Cauliflower (1.5 cups): The secret to a silky texture. Don't skip it.
- Potatoes (3 medium): Aloo provides the starchy base that brings everything together.
- Green Peas (½ cup): Adds a subtle sweetness and vibrant color.
- Carrots & Capsicum (1 cup total): For a sweet, smoky depth. Capsicum is essential for that street-style aroma.
- Tomatoes (3 large): The sourness cuts through the butter. Use fully ripe Indian-style tomatoes.
- Onions (2 large): Finely chopped. We need these for the masala base and raw for garnishing.
- Ginger-Garlic Paste (1.5 tbsp): Freshly crushed is always superior to packaged paste.
- Butter (50g): Amul Butter is the gold standard. Do not substitute with oil if you want Mumbai style Pav.
The Signature Pav Bhaji Masala Mix
You can use store-bought brands like Everest or MDH, but a homemade spice mix for Pav Bhaji takes this dish to a spiritual level. Here is a quick homemade spice mix blend:
- 2 tbsp Kashmiri Red Chili Powder (for color, less heat)
- 1 tbsp Coriander Powder
- 1 tsp Cumin Powder
- 1 tsp Fennel Seeds (ground)
- 1 tsp Amchur (Dry Mango Powder)
- ½ tsp Turmeric Powder
- 1 tsp Garam Masala (added at the end)
Toast whole coriander and cumin seeds before grinding. This unlocks aromatic oils, giving you that quintessential Mumbai street food taste without any raw flavor.
Step-by-Step Easy Pav Bhaji Recipe (Mumbai Style)
This quick Indian dinner recipe involves two parallel processes: boiling the vegetables and preparing the masala base. Let's dive into the detailed cooking instructions. Keep your butter handy; we are going to be generous.
Step 1: Pressure Cook the Veggies (5 Minutes)
Chop the cauliflower, potatoes, carrots, and capsicum into roughly equal sizes. Wash them thoroughly and add them to a pressure cooker with about 1 cup of water and a pinch of salt. Do not overcook the cauliflower, or it will release a sulfurous smell. Pressure cook for exactly 3 to 4 whistles on medium flame. Once the steam releases naturally, open the lid and mash the vegetables lightly with a potato masher. Keep the starchy water; don't drain it.
Step 2: The Red Masala Base (The Heart of the Dish)
In a large heavy-bottomed pan or tawa, melt 2 tablespoons of butter. Add finely chopped onions and sauté until translucent, about 3-4 minutes. The onion must soften but not caramelize darkly, as we want a red-golden final color. Add the ginger-garlic paste and cook until the raw smell vanishes.
Now, add the finely chopped fresh tomatoes and a pinch of salt to speed up the breakdown. Cook this down until the tomatoes turn mushy and the butter starts separating from the sides. This is your signal that the base is ready. Add your mixed dry spices (red chili, coriander, cumin, turmeric) and cook for 30 seconds on low heat to bloom the spices without burning them.
Step 3: The Mashing Process (10 Minutes)
Transfer the boiled vegetables along with the reserved water into the tomato onion masala. Add the green peas now. Using a heavy masher or the back of a ladle, start mashing everything aggressively while cooking on medium-high heat. The bhaji mashing technique defines the texture. You want a semi-smooth consistency—not a puree, but not chunky. It should flow slowly off the spoon.
Add 1.5 cups of additional water (or vegetable stock) and the fennel powder. Let the bhaji simmer vigorously. You will see it bubble and splutter. This is the "bhunai" process, essential for any one-pot vegetable meal. Let it cook for about 8-10 minutes until the raw spice taste disappears and the mixture thickens into a glossy, paste-like gravy.

The vigorous mashing process releases starches and ensures the gravy binds perfectly.
Step 4: Final Tadka & Finish
Turn the heat to low. Stir in the garam masala, dry mango powder (amchur), and a generous squeeze of lemon juice. Place a large chunk of butter (about 2 tbsp) on top and close the lid. Let the butter melt naturally from the residual heat. Do not stir it in immediately; let it pool on top. This is the amul butter technique used by street vendors to create a visually stunning and glossy finish.
Step 5: Toasting the Pav (Bread Rolls)
Slit the soft dinner rolls (pav) horizontally, but keep the back hinge intact so they open like a book. On a flat griddle, melt butter and sprinkle a tiny amount of Kashmiri chili powder and chopped cilantro. Place the pav open-faced on this butter. Press down gently and toast until the edges are crispy and golden brown. Your buttery toasted pav is ready.
For an authentic "Khada Pav Bhaji" twist, add 1 tsp of finely julienned ginger during the final tadka. It provides a sharp, spicy crunch that true Mumbai fans adore.
7 Pro Tips for the Perfect Mumbai Street Style Pav Bhaji
Making an easy Pav Bhaji recipe is straightforward, but nailing the street-style flavor requires attention to detail. Here are the secrets from the bylanes of Mumbai. Over 60% of home cooks fail to get the exact red tint because they skip these steps.
- Use Kashmiri Chili Exclusively: It gives the bright red color without making the dish overwhelmingly spicy. Add a pinch of food-grade red color only if needed.
- The Mashing Tool Matters: Avoid blenders. A mechanical blender creates a gluey paste. Use a sturdy wooden mashing tool to retain some vegetable fibers.
- Hydrate the Spices: Always splash a little water into the dry spices when frying the masala. This prevents burning and allows the flavors to infuse the oil (butter).
- High Heat Finish: Once mashed, cook the bhaji on high heat for 5 minutes. This drives off excess moisture and creates a "smoky" charred edge flavor, mimicking the Mumbai street food cart experience.
- Lemon Juice at the End: Acidity degrades with heat. Always add lemon juice after turning off the flame to get that sharp, refreshing tang.
- Soak the Pav in Butter: Don't just toast dry bread. The pav must literally fry slightly in the butter to absorb the greasy, spicy goodness.
- Garnish is Non-Negotiable: A heap of raw chopped onion, a slice of lemon, and fresh coriander add temperature and textural contrast to the hot bhaji.
Nutritional Information & Health Analysis
While Pav Bhaji is often viewed as a high-calorie fast food, it is essentially a bowl of steamed vegetables with bread. By controlling the butter quantity, you can transform this into a very healthy vegetarian protein source. Below is a breakdown for a standard serving (2 pav + 250g bhaji).
Health Hack: Swap white pav with whole wheat or multigrain rolls. Use 70% less butter in the bhaji and replace it with a splash of vegetable stock to maintain the low-calorie profile while keeping the healthy Indian street food vibe alive.
Homemade vs. Street Vendor Pav Bhaji: A Detailed Comparison
Why does the restaurant-style Pav Bhaji always taste different? The answer lies in the technique and, honestly, the sheer amount of fat. Let's break down the differences so you can replicate that exact taste in your kitchen.
| Feature | Home-Style Pav Bhaji | Mumbai Street Stall |
|---|---|---|
| Fat Source | Oil or Mixed Butter (30g) | Pure Amul Butter (100g+) |
| Cooking Surface | Non-stick Pan | Heavy Iron Tawa (Smokier flavor) |
| Vegetable Ratio | High Veg, Low Potato | High Potato (Acts as binder) |
| Red Color | Kashmiri Chili | Beetroot boil water / Food Color |
| Consistency | Thicker, less water | Slightly watery, flowing gravy |
| Taste Profile | Balanced Spice | Pungent, Tangy, Extra Spicy |

A modern twist: Cheese Pav Bhaji. The melted cheese adds a rich, creamy dimension to the tangy curry.
Global Adaptations of Pav Bhaji (Fusion Ideas)
The global Indian cuisine scene has adopted Pav Bhaji in incredible ways. It is no longer just an Indian fast food recipe; it’s a canvas for international flavors. Here are some trending variations you must try for your next quick dinner idea.
- Khada Pav Bhaji (Chunky Style): Popular in Gujarat, the vegetables are not mashed fully. You can see distinct pieces of capsicum and cauliflower in a spicy gravy.
- Jain Pav Bhaji: Made without onions, garlic, or potatoes. Raw bananas and green bananas are used as the starchy base, popular in Western India.
- Cheese Burst Pav Bhaji: A hit among the younger generation. A mountain of shredded mozzarella is melted directly into the bhaji or stuffed inside the pav.
- Pav Bhaji Fondue: A fine dining innovation where the vegetable mash is thinned to a dipping consistency, served with toasted bread croutons. A perfect party food idea.
- Vegan Pav Bhaji: Replace butter with vegan coconut fat or refined peanut oil. Surprisingly, the bhaji base is naturally vegan until you add butter.
The Future of Street Food: Pav Bhaji and Culinary Trends
The global food market projects a massive surge in the popularity of vegetarian snacks and fusion street food. With the rise of meal kit services, the easy Pav Bhaji recipe is being packaged as a 15-minute gourmet solution for millennials. Restaurants are experimenting with molecular gastronomy, creating "Pav Bhaji Foam" and dehydrated bhaji crisps.
Health-conscious diners are driving the demand for low-carb Pav Bhaji alternatives. Cauliflower Pav (replacing bread) and zucchini boats stuffed with bhaji are becoming common. Moreover, the concept of regional Indian thalis featuring mini Pav Bhaji shooters is taking over wedding catering menus globally. The dish’s ability to adapt while keeping that core buttery spice blend intact ensures it will remain relevant for decades to come.

Nothing beats the sensory overload of a sizzling tawa on a busy Mumbai street at dinner time.
Frequently Asked Questions (FAQs)
1. What is the secret to red color in Pav Bhaji?
The vibrant red comes from using Kashmiri dry red chilies, fully ripe red tomatoes, and a small piece of beetroot boiled with the vegetables. Never compromise on the quality of your chili powder. Some street vendors add a pinch of edible red food color, but the beetroot hack is a natural red color agent.
2. Can I make Pav Bhaji without a pressure cooker?
Absolutely. You can boil the vegetables in a large pot of water until they are extremely fork-tender. However, a pressure cooker saves about 15 minutes of cooking time and retains more water-soluble vitamins in the vegetable broth which enhances the flavor.
3. How do I store leftover Pav Bhaji?
Pav Bhaji tastes even better the next day. Store the bhaji in an airtight container in the refrigerator for up to 4 days. Reheat on the stovetop with a splash of water and a fresh blob of butter. Avoid freezing, as the texture can become watery after thawing this vegetable mash dish.
4. Is Pav Bhaji gluten-free?
The bhaji (vegetable curry) is naturally gluten-free. It is the pav (bread roll) that contains gluten. To make a complete gluten-free meal, serve the bhaji with gluten-free burger buns or a side of steamed rice.
5. What is the difference between Pav Bhaji Masala and Garam Masala?
Pav Bhaji Masala is a specific spice blend that includes tangy elements like dry mango powder (amchur) and black salt, along with fennel for a cooling effect. Garam Masala is warmer with cinnamon, cloves, and cardamom. You can use Garam Masala in a pinch, but the authentic taste demands the specific masala.
6. How can I make Pav Bhaji more protein-rich?
Add crumbled paneer (cottage cheese) or cooked soy granules to the bhaji during the mashing stage. You can also serve it with a side of roasted masala peanuts. This makes the vegetarian protein dish much more satiating for gym-goers.
7. Why does my Pav Bhaji taste bland even after using lots of spices?
This usually happens due to insufficient fat or not cooking the tomato-onion base enough. The spices must fry in butter to release fat-soluble flavors. Also, check your acid balance; a bland bhaji often just needs an extra squeeze of lemon juice for balance.
Conclusion: Bringing the Mumbai Spirit to Your Kitchen
Mastering this easy Pav Bhaji recipe is your ticket to recreating the magic of Mumbai street food at home. It’s a forgiving, deeply satisfying dish that brings the family together around a hot pan. Whether you are making a college dorm version with a limited pantry, or a gourmet platter with cheese and exotic peppers, the core spirit remains the same: generous butter, patient mashing, and vibrant spices.
Remember, the best Pav Bhaji recipe is the one that suits your palate. Don't be afraid to experiment with the spice levels and vegetable mixes. Now, gather those ingredients, grab your masher, and get cooking! If you try this recipe, we are sure it will become a weekly staple in your kitchen.
🔥 Did You Try This Easy Pav Bhaji Recipe?
We want to see your culinary masterpieces! Click below to join our community and share your Mumbai street food creations.
SHARE YOUR PAV BHAJI PHOTO📧 Or tag us on social media @GlobalTadka for a chance to be featured!